Making sure your website complies with age limitations is essential in today’s digital world, particularly when it contains content that could only be suitable for specific audiences.
Whether you manage a community platform, blog, or e-commerce website, implementing age verification can help you adhere to regulatory requirements and safeguard your material.
This post will walk you through the process of successfully integrating age verification into your WordPress website.
Importance of Age Verification
Verifying age is crucial for a number of reasons. It protects you from potential litigation connected to inappropriate content exposure, complies with legal requirements, and guarantees that caregivers can keep an eye on younger users’ media intake.
It is usually implemented on those websites that market products or services such as wine, vaporizers, marijuana, or similar alcoholic items, which are prohibited for visitors under a specific age group.
You uphold content integrity and show your audience that you are accountable by using age verification.
Compliance with Laws and Regulations
Regulations governing the age at which minors can access particular kinds of content differ by country.
Strict rules may apply to websites that provide gambling, pornographic content, or even specific goods like alcohol and tobacco.
Before putting any age verification procedures into place, it is crucial to comprehend your legal responsibilities and local laws.
Ways to Include Age Verification
There are several methods you may use to incorporate age verification into your WordPress website:
Plugin Utilization
Using already-existing age verification plugins is one of the easiest ways. With only a few clicks, you can install plugins and build a strong age-checking system without knowing a lot of code.
Tailored Coding Services
You can make your age verification form if you know how to code. This approach gives you flexibility and lets you fully customize the user experience. It may lengthen the development time, though, and necessitates familiarity with HTML, CSS, and PHP.
Services for Third-Party Verification
Using outside firms that focus on age verification is an additional choice. These services can help you follow age rules. They often offer reliable verification methods and easy integration.
Age Verification Best Practices
Considerations for the User Experience
Age verification should improve the user experience overall, even though it is necessary. Make sure the verification procedure is simple and easy to use. Steer clear of too complex forms and think about using a straightforward drop-down menu where consumers can choose their age.
Privacy and Data Security
It’s critical to manage age-related data carefully when gathering it. Providing users with information about how their data is stored and used will ensure compliance with laws like the GDPR. Make it apparent that the data is just being used to confirm the age of the person.
Well-liked Plugins for Age Verification
Some well-liked WordPress plugins to assist you with age verification are as follows:
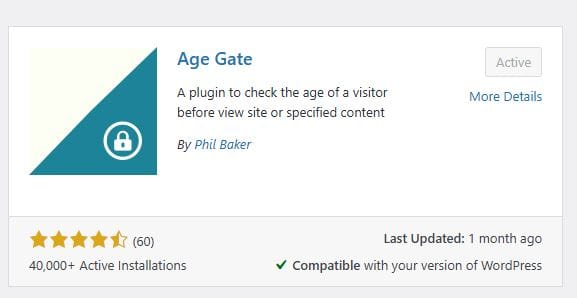
The Age Gate
Age Gate is very customisable and easy to use. A pop-up that asks people for their age before allowing them to enter your website can be made. There are multiple settings available for this plugin to accommodate your tastes.
How to Optimize Age Gate Verification To WordPress Site
WordPress doesn’t have any built-in options to handle age verification functionality. You will need a plugin to enable this functionality.
There are lots of plugins to handle that. In this article, we will guide you on how to add age verification system via one of these plugins.
Firstly, from your dashboard you will need to go to Plugins > Add New.

Search for the Age Gate plugin. You will need to click on install now and then activate it.
Upon activation, you will see a menu item labeled Age Gate in the WordPress admin dashboard. Clicking on it will take you to the plugin’s settings page.
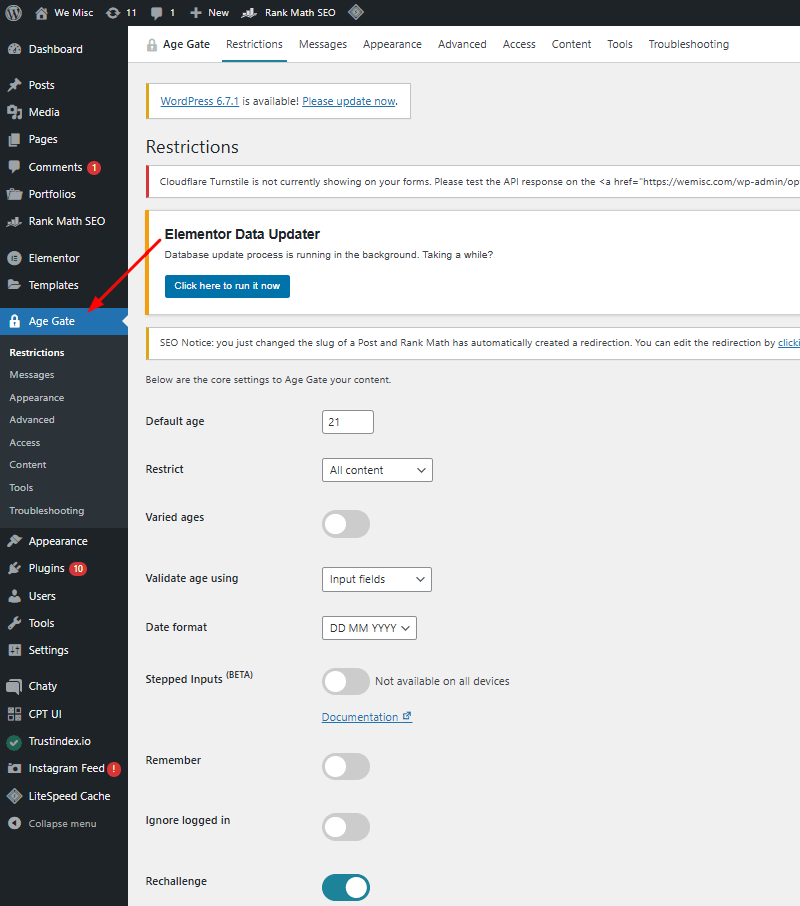
You will need to configure the plugin with your preference settings.
From the setting page, navigate to the “Restriction Settings”. Here, you can customize the age limit and where you want to show the restrictions.
For Instance, you opt to set the default age restrictions to 21. If you want to restrict all content or selected content you can do that. A unique feature to look different is to enable ‘validate age’ using input fields. You can use the ‘Yes/No’ button or drop-down fields.
In the drop-down feature, the user needs to provide a Day-Month-Year with a year order. You can even choose a button order for the ‘ Yes/No option.
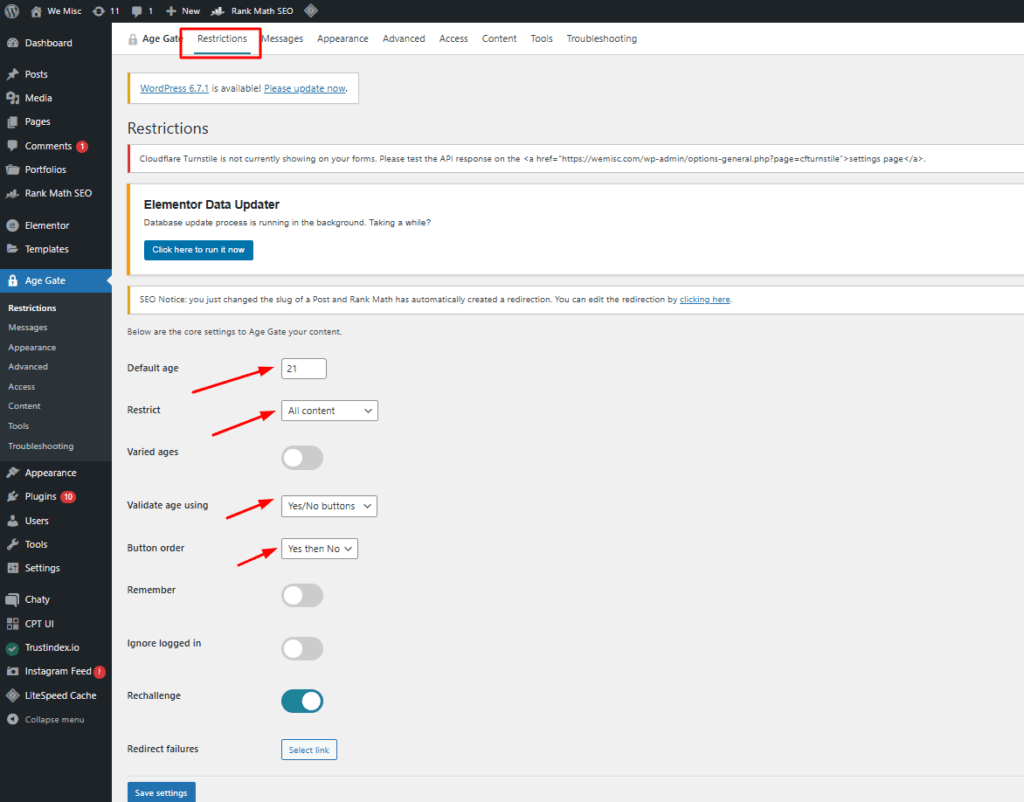
Then click on the Save Changes button to save the settings.
Now, You can visit the website and see the age verification screen.

The default style doesn’t look so good. You can customize the design from other settings to make it looks better.
Configuring Age Verification Screen and Message
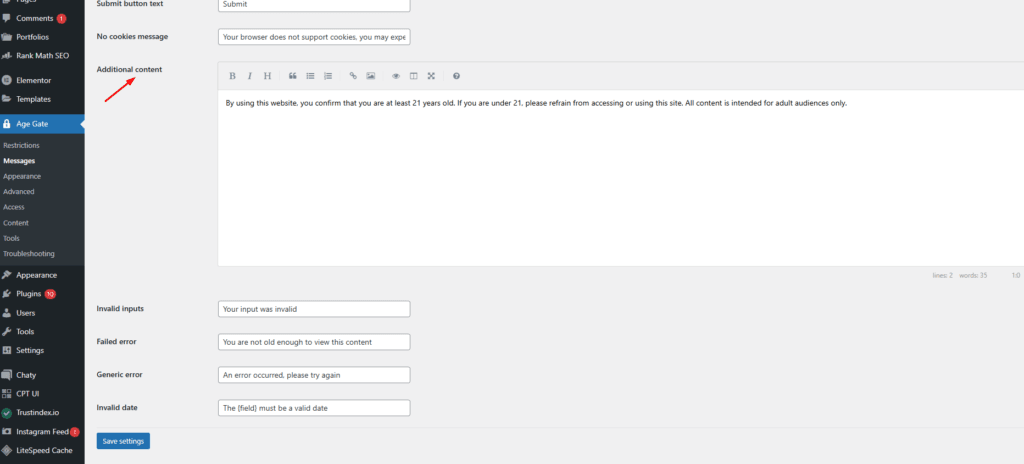
Go to the Messages section of the plugins setting page. On this page, you can add or customize Hthe eadline, Sub-headline, button text, additional content, and any other related text.
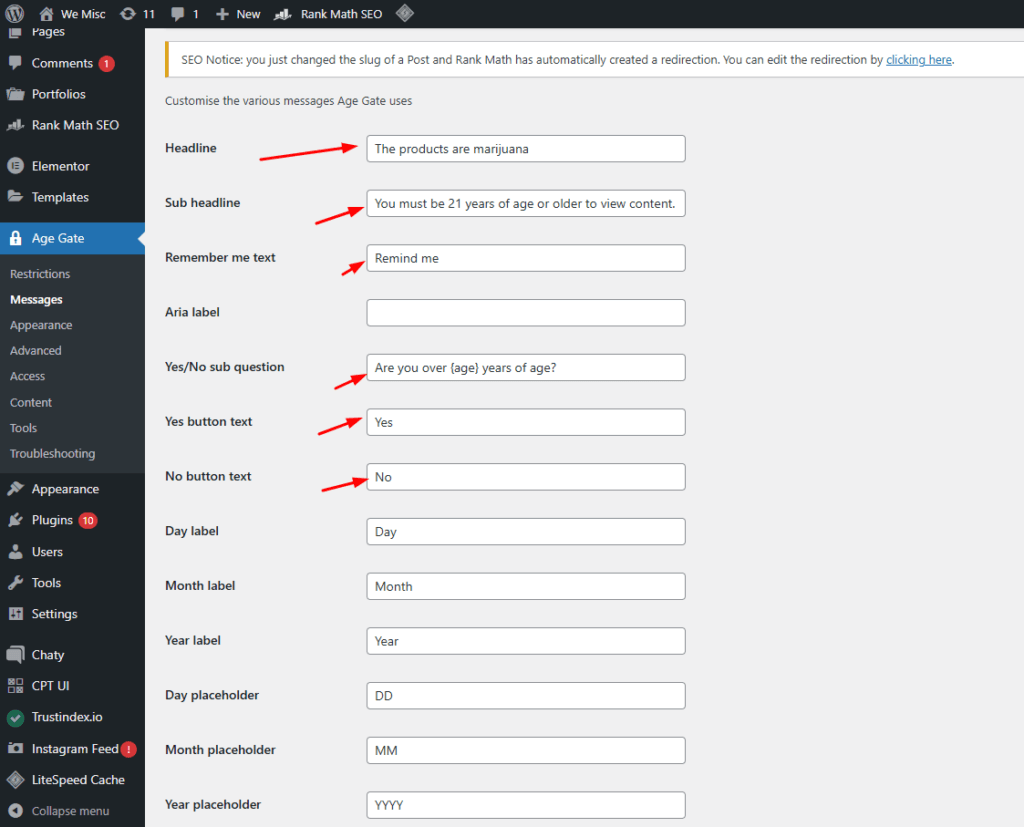
Write some terms and conditions about using this website or a specific page. The additional content assists users in becoming cautious.
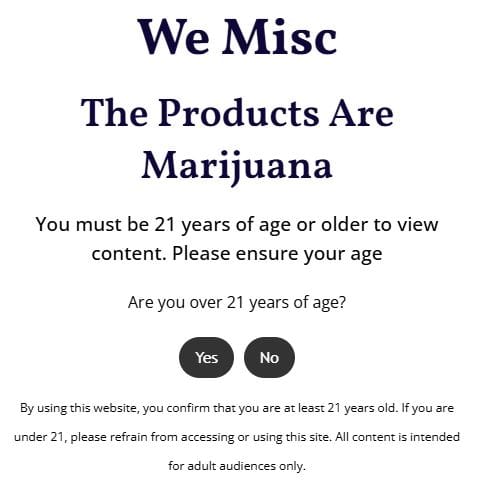
After customizing screen text you can visit the website and will see the changes you have made.
Customizing the Appearance part of Age Gate Plugin
Go to the Appearance section of the plugin’s setting page. On this page, you can customize the background color, foreground color, background image, text color, and more.
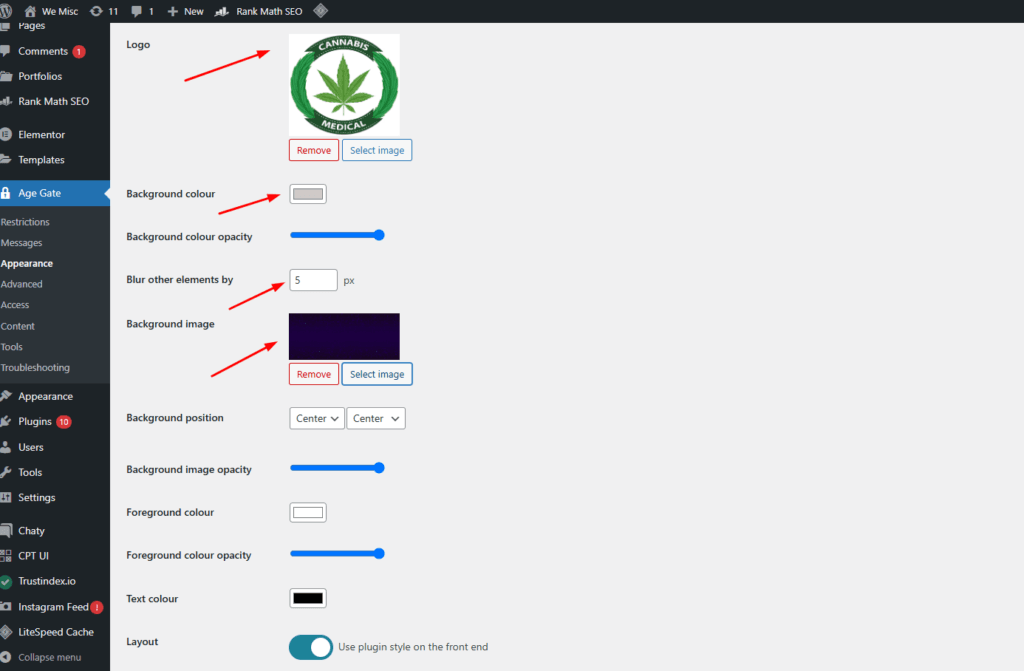
Click on “Save changes” when you are done with customizing
Here is the result after customizing the appearance settings

Now, the age verification screen looks very customized, and it delivers the message you are trying to show before entering your website.
Verification of WP Age
This plugin offers a simple method of age verification with a visually appealing UI. The form’s behavior and look are highly customizable, which makes it a good option for a range of websites.
Verify Your Age
Another good choice for quickly establishing an age verification screen is Age Check. This plugin works with the majority of WordPress themes and offers a variety of display settings.
Troubleshooting and Testing
It’s crucial to thoroughly evaluate the functionality after putting age verification into place. Make sure it functions properly on various hardware and web browsers. Look for any issues that can restrict users’ access to your content according to their age. Consult the community forums or support documentation for the relevant plugin if problems occur.
Take the Next Step:
- Hope this article helped you much in adding age verification to your WordPress website.
- For compliance, user protection, and content integrity, you must incorporate age verification into your WordPress website.
- Make sure the procedure is easy to use and complies with legal requirements whether you decide to use a third-party service, plugin, or custom code.
- You can put in place a safe age verification system that protects your audience and increases the legitimacy of your website.
- Adhere to our recommendations and follow the best practices discussed in this article.
- Put this feature into use right now to make the internet a safer place for everyone.
- Check out our other blogs on various WordPress Tips and Tricks we have published.